@mintlify/astro integration reads your docs.json config and MDX content at build time and processes everything into a format Astro can render.
Prerequisites
- A Mintlify account
- A GitHub account
- Node.js v20.17.0 or later (LTS recommended)
- Familiarity with Astro
Set up your project
Create a repository from the starter template
Go to the mintlify-astro-starter repository on GitHub, click Use this template to create a new repository, and clone it locally.
Sign up for Mintlify
If you don’t have an account, sign up at dashboard.mintlify.com/signup.
Install the GitHub app
On the Git settings page, install the Mintlify GitHub app. If already installed, uninstall and reinstall it to connect your new repository.
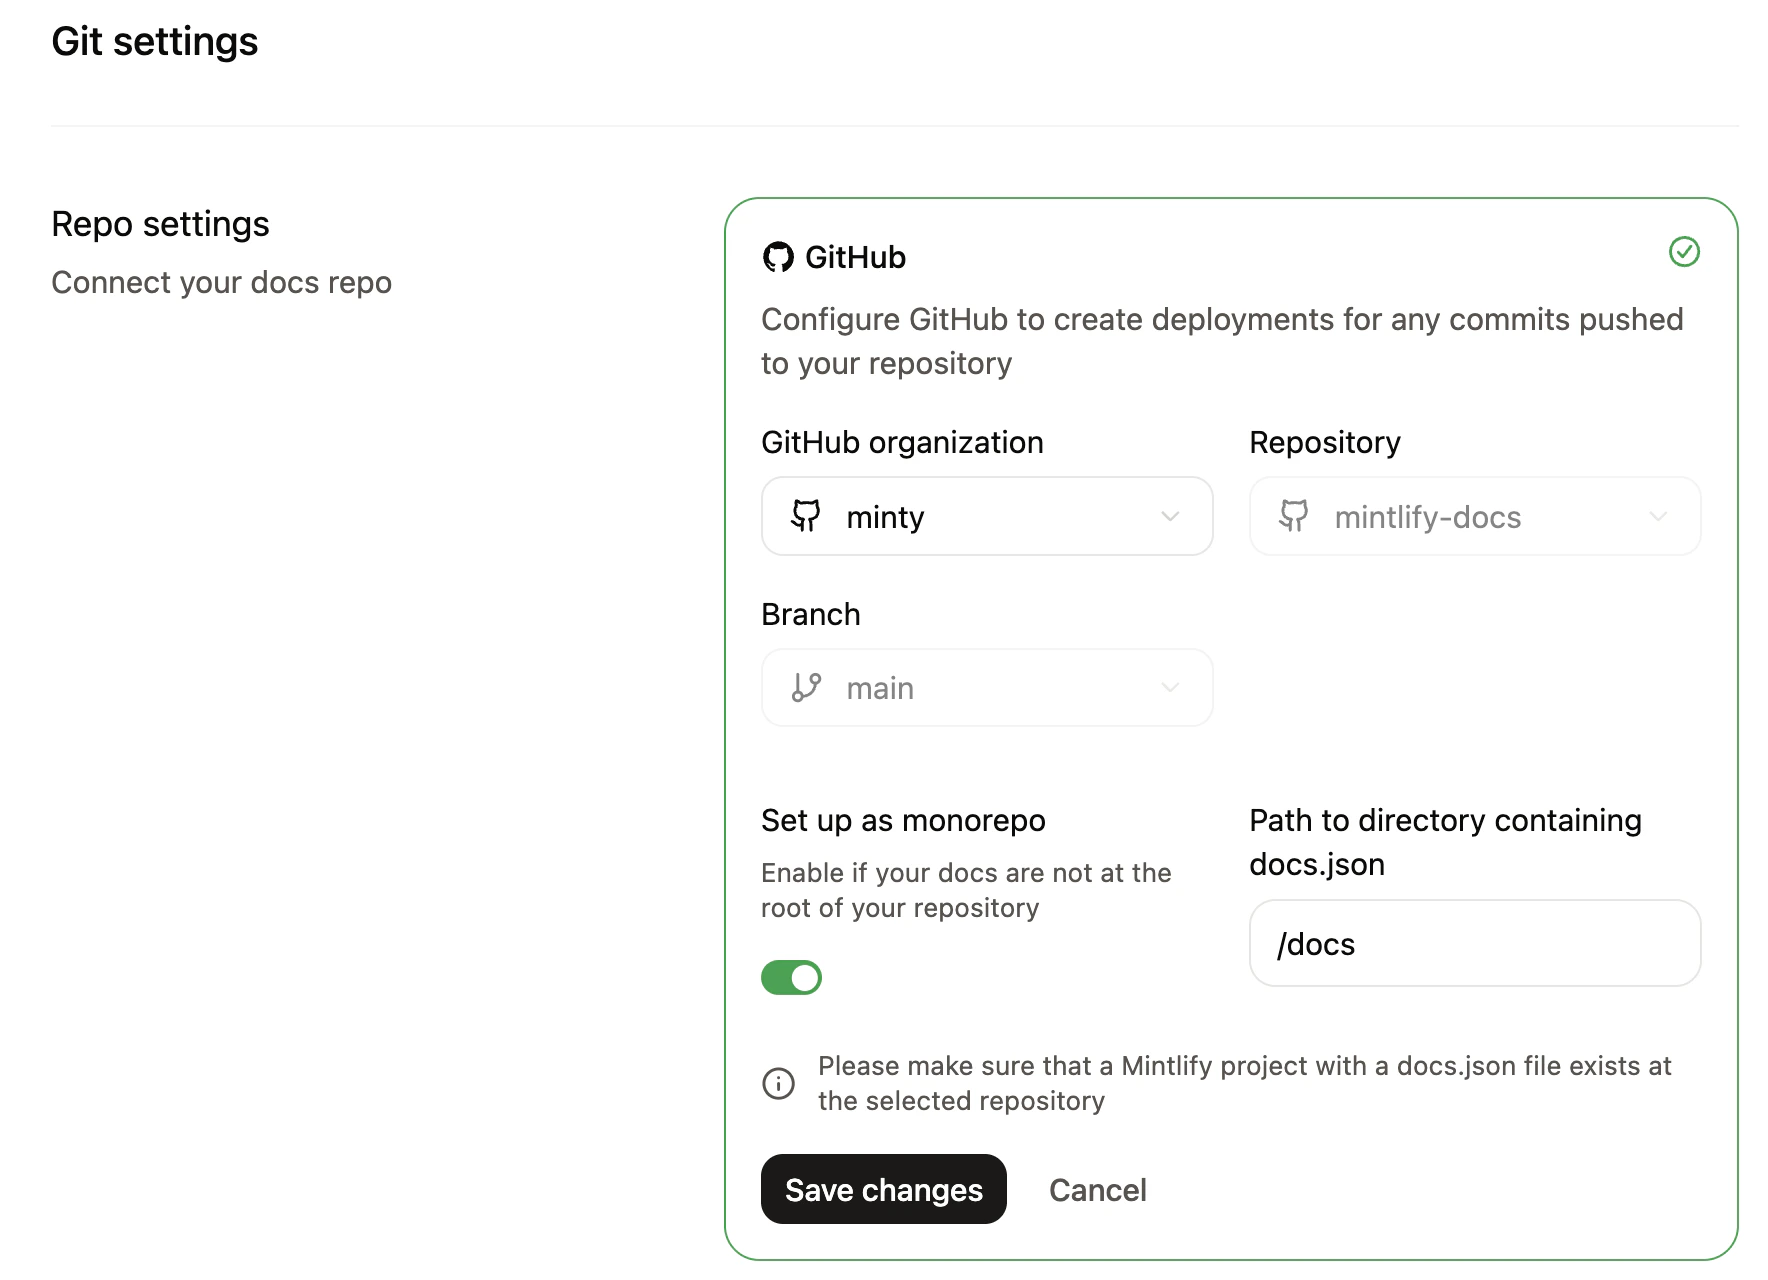
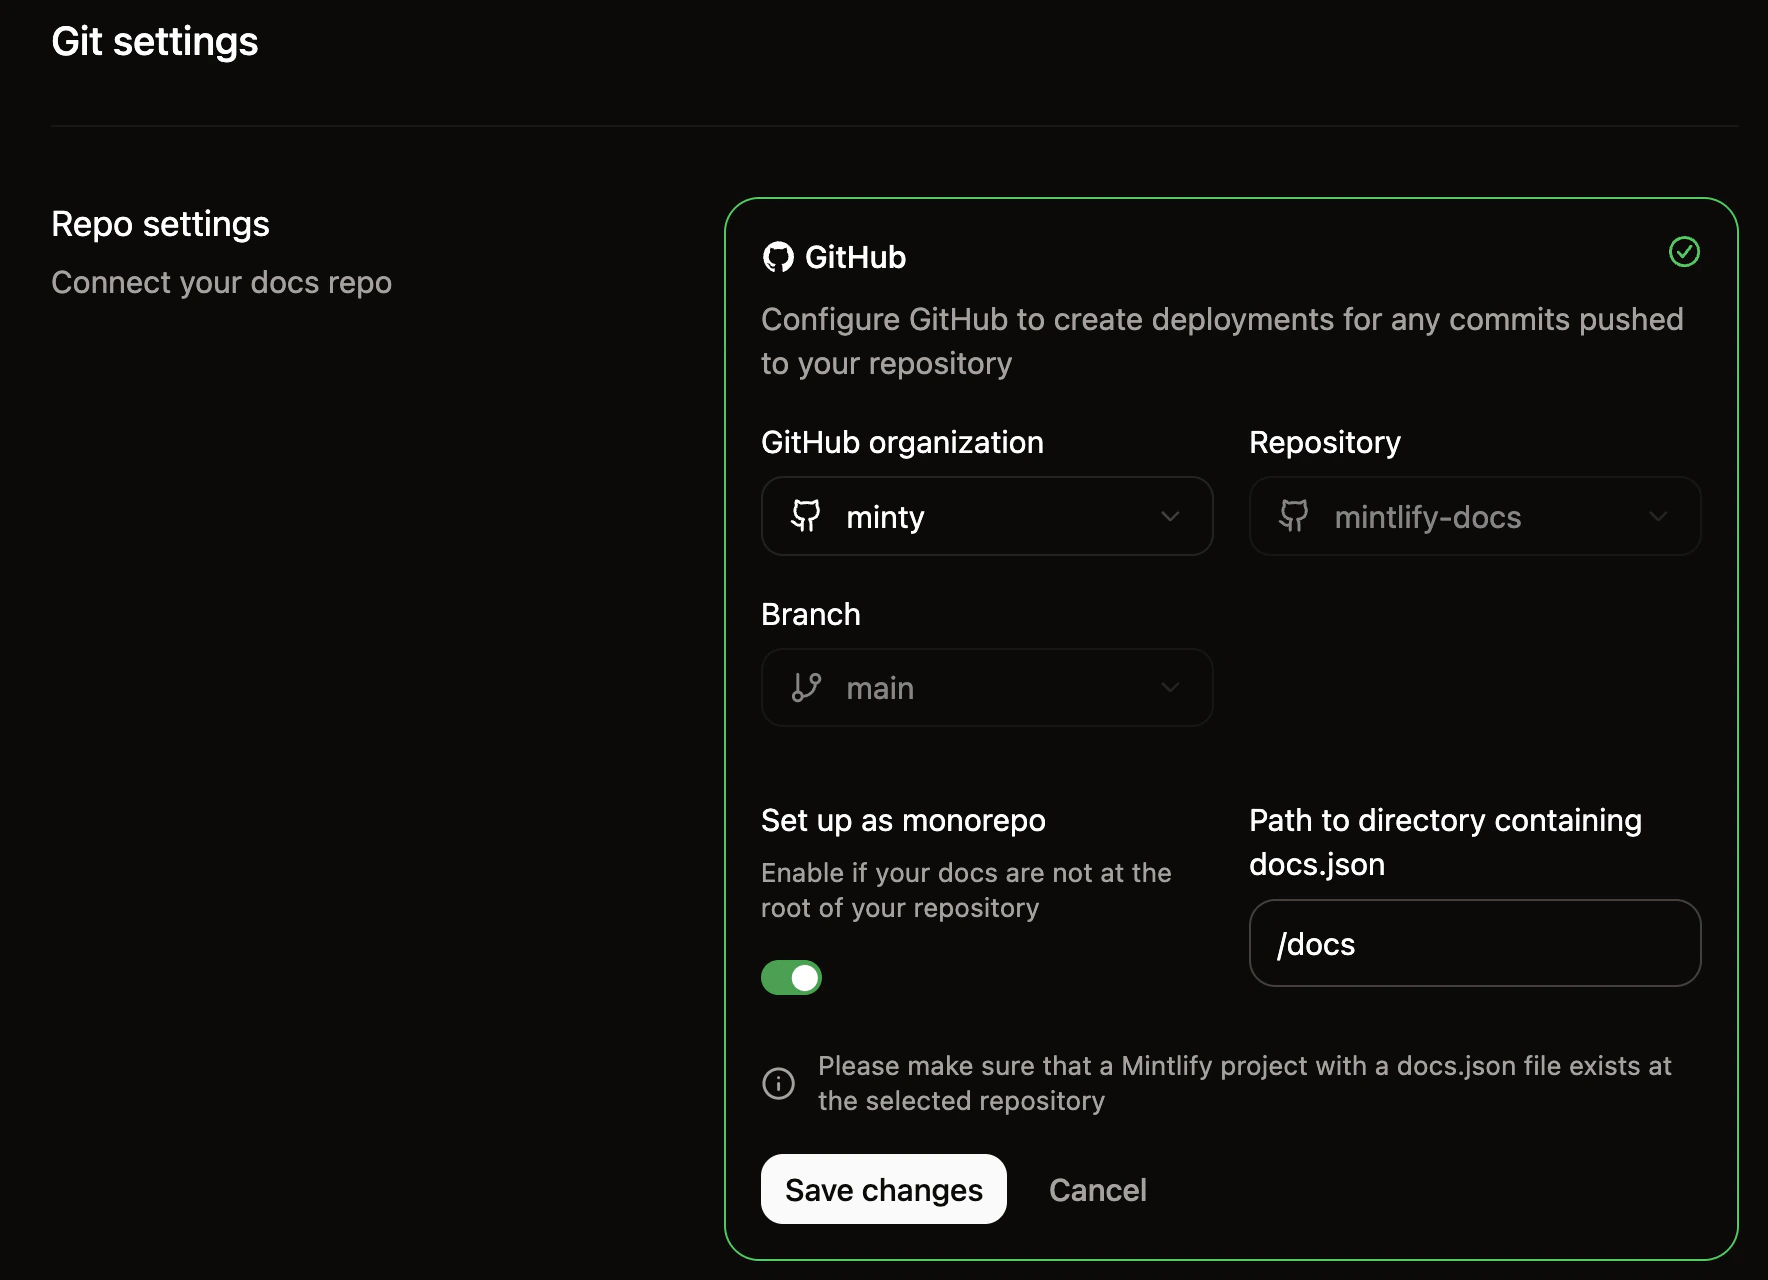
Connect your repository
- On the Git settings page, select your starter template repository.
- Enable Set up as monorepo and enter
/docsas the docs directory path. - Click Save changes.
Configure environment variables
Create a Your subdomain is the part of your dashboard URL after the organization name (e.g.,
.env file at the project root:.env
domain-name from https://dashboard.mintlify.com/org-name/domain-name).On Pro or Enterprise plans, generate an assistant API key (starts with mint_dsc_) on the API keys page.How it works
The integration connects the Astro build system, yourdocs/ content, and the Mintlify packages that process and render it.
Astro configuration
Configure themintlify() integration in astro.config.mjs:
astro.config.mjs
docs.json and MDX files from docsDir into .mintlify/docs/, where Astro’s content collections pick them up.
Content structure
Structure yourdocs/ directory the same way as any Mintlify project:
Routing and navigation
A catch-all route renders each MDX page. The@mintlify/astro/helpers package provides:
resolvePageData()— returns tabs, sidebar navigation, footer links, and anchors for a given page path.unwrapNav()— flattens the navigation tree into a list for sidebar rendering.
Layouts and styling
You control the full presentation layer. The starter template includes layouts, sidebar, table of contents, and styles built with Tailwind CSS — replace any of these with your own.| File | Purpose |
|---|---|
src/layouts/Layout.astro | Root HTML layout |
src/pages/[...slug].astro | Page template and data loading |
src/components/Header.astro | Site header |
src/components/Sidebar/ | Sidebar navigation |
src/components/TableOfContents.tsx | On-page table of contents |
src/styles/ | Global styles, typography, and color scheme |
Search and assistant
The assistant is available on Pro and Enterprise plans.
- Search —
SearchBarcomponent insrc/components/SearchBar.tsx - Assistant —
Assistantcomponent insrc/components/Assistant/for AI-powered chat
PUBLIC_MINTLIFY_SUBDOMAIN and PUBLIC_MINTLIFY_ASSISTANT_KEY.
Next steps
- Replace the starter content in
docs/with your own MDX files anddocs.jsonconfiguration. - Customize layouts and styles to match your design system.
- Deploy your Astro site to your preferred hosting provider.